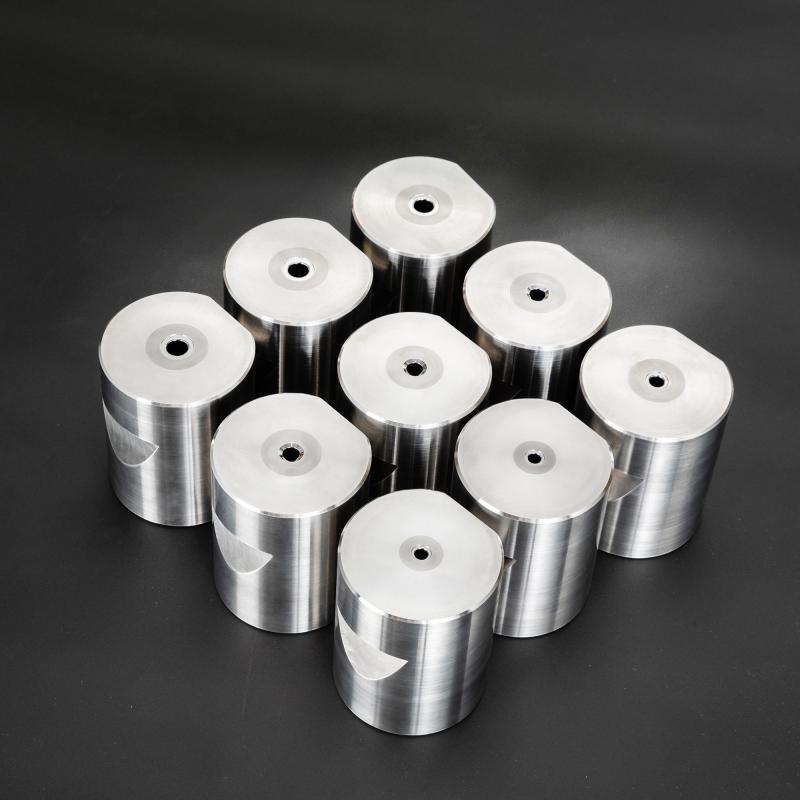
Main Dies: Definition, Characteristics, Applications, and Maintenance
1. Definition of Main Dies
Main dies, also known as primary dies or master dies, are precision tools used in manufacturing processes to shape, cut, or form materials into specific configurations. These dies serve as the foundational tooling component in operations like stamping, forging, extrusion, and injection molding. Typically constructed from high-grade tool steel (e.g., D2, A2, or H13) or carbide, main dies undergo specialized heat treatment processes to achieve surface hardness ranging from 58-64 HRC while maintaining a tough core structure.

2. Key Characteristics with Technical Data
Precision Tolerance: High-quality main dies maintain dimensional tolerances within ±0.005 mm for critical features, with surface finishes achieving Ra 0.2-0.4 μm for forming applications.
Thermal Stability: Advanced die materials exhibit thermal expansion coefficients as low as 11.5×10⁻⁶/°C (for H13 steel at 20-400°C), ensuring dimensional stability during high-temperature operations.
Wear Resistance: Modern die coatings like TiAlN (Titanium Aluminum Nitride) provide surface hardness exceeding 3,500 HV and reduce abrasive wear by 60-80% compared to uncoated tools.
Fatigue Life: Properly maintained dies can withstand 500,000-2,000,000 cycles depending on material thickness and forming forces, with premium Carbide Dies reaching 5,000,000+ cycles in certain applications.
3. Primary Application Scenarios
Automotive Stamping: Main dies form body panels with forces reaching 2,000-10,000 tons, producing components with ±0.15 mm positional accuracy for assembly-critical features.
Aerospace Forging: Titanium and nickel alloy components require dies maintaining 1,000-1,200°C operating temperatures with cycle times under 30 seconds for production efficiency.
Electronics Precision Stamping: Connector pins and lead frames demand dies with ±2 μm feature accuracy and burr heights below 5 μm, often using Tungsten Carbide inserts.
Medical Device Molding: Polymer injection molds with Ra 0.05 μm mirror finishes require dies maintaining ±0.5°C temperature control across the tool surface.
4. Comprehensive Maintenance Procedures
Cleaning Protocol:
Ultrasonic clean with pH-neutral solutions every 5,000 cycles
Remove carbon deposits using non-abrasive methods (plastic media blasting at 2-3 bar)
Apply rust-preventive coatings with 0.01-0.03 mm thickness for storage
Inspection Schedule:
Measure critical dimensions with 0.001 mm resolution CMM weekly
Check for microcracks using fluorescent penetrant testing (sensitivity to 0.02 mm defects)
Monitor surface roughness with profilometers (Ra value increases beyond 0.8 μm indicate need for refinishing)
Reconditioning Processes:
EDM recutting with ±0.003 mm
Laser cladding repairs using matching alloy powders with 95-98% density restoration
Recoating with PVD/CVD layers when original coating thickness drops below 2 μm
5. Operational Best Practices
Temperature Management: Implement preheating protocols to bring dies to 150-200°C before high-volume production, reducing thermal shock. Use conformal cooling channels maintaining ±5°C variation during operation.
Lubrication Systems: Apply high-performance lubricants with viscosity indexes above 200 and film strength exceeding 300,000 psi. Automated spray systems should deliver 0.5-2.0 ml/m² with 95% coverage consistency.
Process Monitoring: Install force sensors detecting ±1% variation from nominal press tonnage. Vibration analysis systems should identify abnormal frequencies above 5 kHz indicating potential die damage.


